DIY Cold Plunge Setup: Create Your Own at Home
You've been reading about cold water therapy for months. Maybe you tried a session at a local cold plunge facility or recovery wellness center and loved it. Now you're doing the math, realizing $30–$60 per session adds up fast, and thinking: can I just build one at home? Short answer, yes. But there's a lot of bad advice floating around, and a few expensive mistakes people make before they figure out what actually works.
This article walks you through exactly what you need to know before spending a single dollar: your setup options, realistic costs, safety basics, and the honest truth about when skipping the DIY route and just visiting a good cold immersion center or contrast therapy studio makes more financial sense.
What Cold Water Therapy Actually Is (And What People Get Wrong)
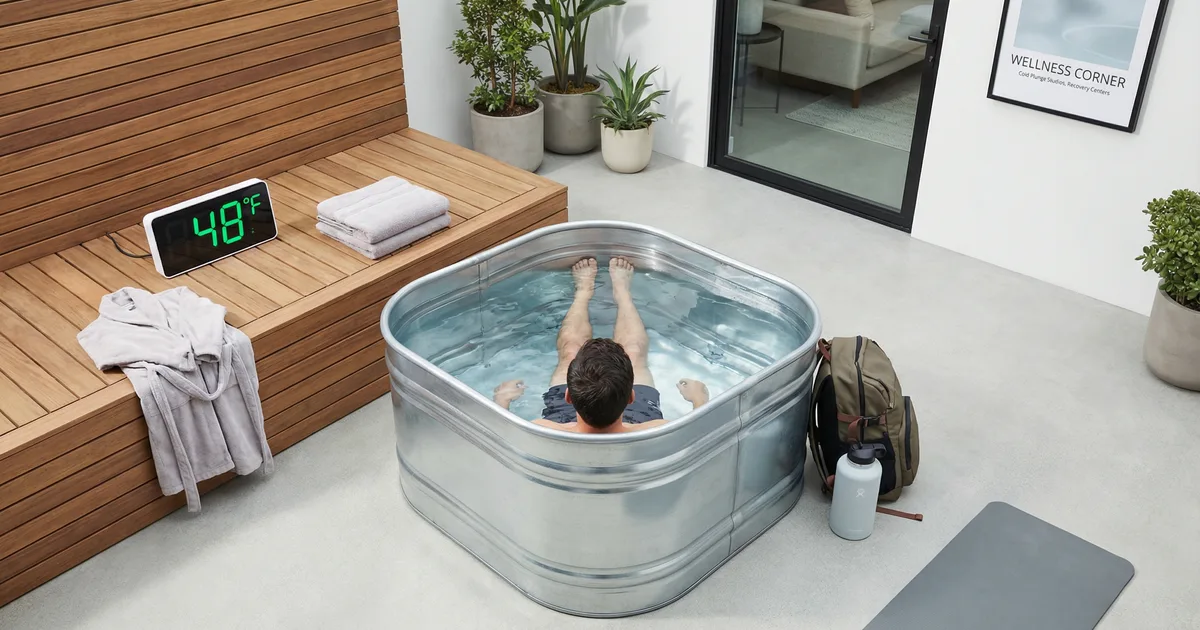
Cold plunge therapy means submerging your body, usually up to the chest or shoulders, in water between 50°F and 59°F. Some people go colder, down to 45°F or even 38°F for shorter bursts, but for most beginners that range of 50–59°F is where you'll spend most of your time. Sessions typically run 2–10 minutes depending on your tolerance and goals.
People do it for a bunch of reasons. Faster muscle recovery after workouts, reduced inflammation, better sleep, a noticeable mood boost from the dopamine and norepinephrine hit, the research is solid enough that athletes and regular folks alike have made it a weekly habit. Some people at a cryotherapy studio will tell you they do it every single day. That's not required, and honestly most people see solid results with 3–4 sessions per week.
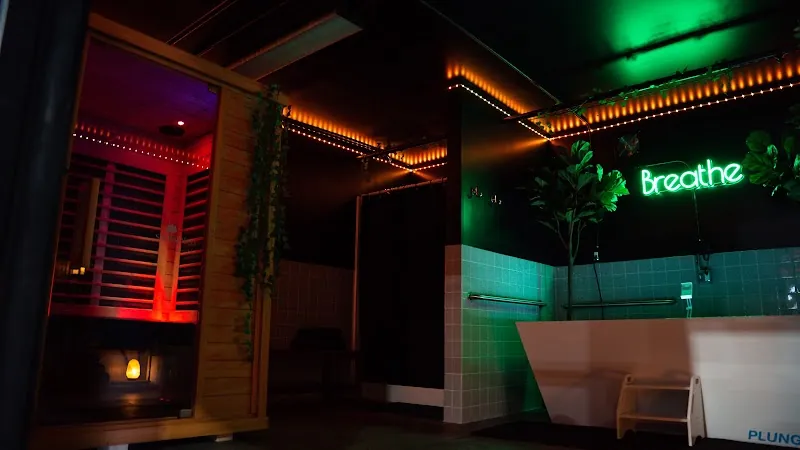
Here's what nobody tells you about cold therapy at home versus at a professional ice bath facility: the difference is mostly about temperature consistency and water cleanliness, not the cold itself. A commercial cold plunge pool at a spa or wellness center runs a chiller unit with filtration and UV sanitation running 24/7. Your DIY setup won't match that out of the box. That doesn't make it useless, far from it, but you need to plan for it.
59°F: Beginner range, uncomfortable but manageable. 50–55°F: Where most regular cold plungers work. 45°F and below: Advanced territory, shorter sessions, more caution needed. Always have a thermometer. Do not guess.
Cold immersion protocols for home use are simple. Start with 2 minutes at 55°F. Work up to 5–8 minutes over a few weeks. Do not stay in past the point where you feel your grip strength starting to fade or you feel confused, those are early signs of too much cold exposure. Get out, warm up slowly, don't jump straight into a hot shower.
Your Four DIY Setup Options: What They Cost and What They're Worth
Four main paths. Pick the one that fits your budget, your space, and how serious you are about making this a regular habit.
Stock Tank Setup (Budget Option)
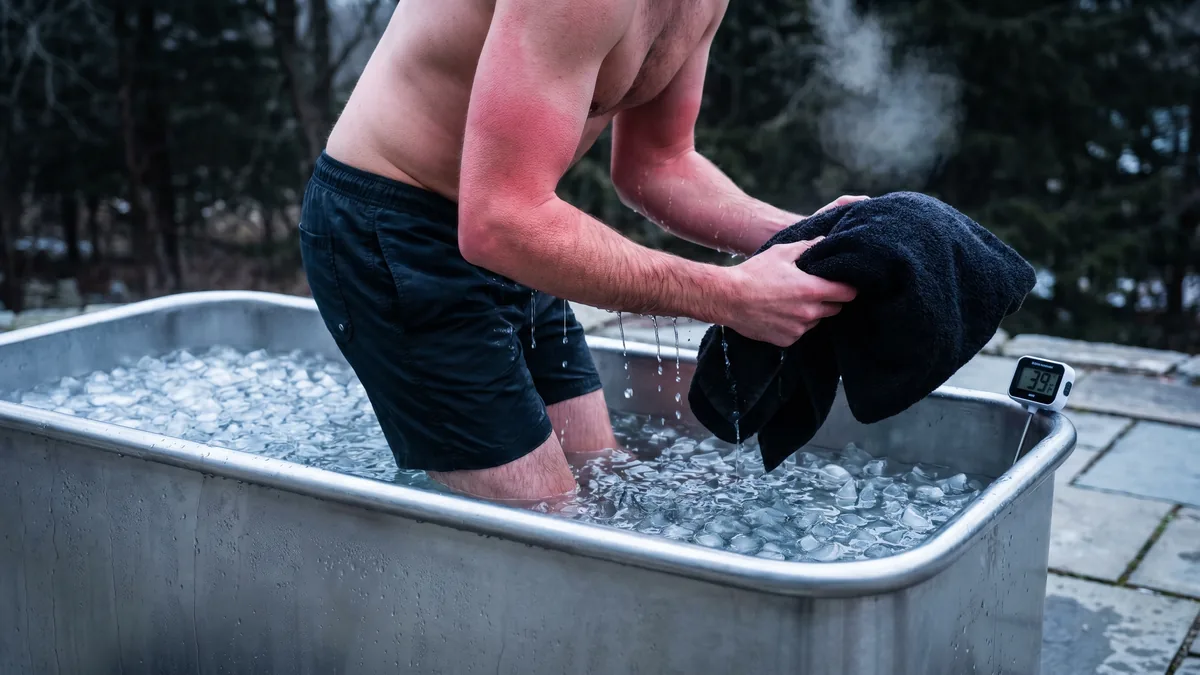
A galvanized steel stock tank, the kind farmers use for livestock, is the cheapest and most popular starting point. A 100-gallon tank runs $150–$250 at a farm supply store. Fill it with water, add bags of ice before each session, and you're plunging. Total setup cost: under $300 if you already own a hose and a thermometer.
The catch is ice costs. Bags of ice from a convenience store or grocery store run $2–$4 each. Getting your tank down to 55°F on a warm day might take 4–6 bags. That's $8–$24 per session just for ice. One thing worth knowing: salvage grocery stores often stock bagged ice and cold-related supplies at steep discounts, so if you're going the ice-heavy route, finding one near you can cut those ongoing costs noticeably.
Stock tanks work great outdoors or in a garage. Not ideal for an apartment. No temperature control, no filtration, and if you don't drain and refill frequently, the water gets gross fast. Change the water every 3–5 uses minimum, or add a small amount of food-grade hydrogen peroxide (about 1 cup per 100 gallons) to slow bacterial growth.
Chest Freezer Conversion (Mid-Range Sweet Spot)
This one's the most popular DIY build among serious home plungers. Buy a used chest freezer (70–100 gallon size), seal the drain with waterproof sealant, line it if needed, and run it as a cold plunge. Cost for a used chest freezer: $100–$300. A new one runs $400–$700. Add a small submersible pump and a basic filter, and you're looking at $500–$900 total.
Temperature control is actually really good with this setup. You can hold 40–50°F consistently without any ice. Electricity costs roughly $20–$40 per month depending on your local rates and how often you open the lid. That's a significant improvement over daily ice purchases.
I would pick a chest freezer conversion over a stock tank setup every time if you plan to plunge more than twice a week. The ice costs alone at that frequency make the freezer pay for itself within 3–4 months.
Inflatable Tub Setup
Inflatable cold plunge tubs designed specifically for ice baths have gotten popular. Brands like Ice Barrel and Plunge (the company, not the concept) sell purpose-built inflatable or semi-rigid tubs in the $200–$500 range. Add a separate chiller unit and you're at $1,200–$2,000 total.
Good for apartments or small spaces. Easy to move. In practice, the downside is durability, inflatable materials don't love sharp objects or rough surfaces, and after 1–2 years of use some owners report seam issues.
Dedicated Cold Plunge Tub (Premium DIY)
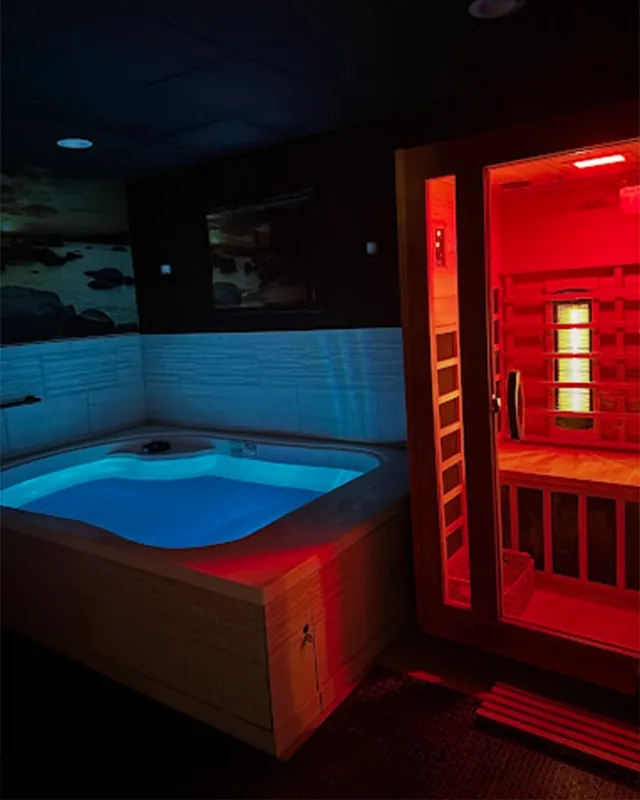
At the top end, you can buy a purpose-built cold plunge tub with an integrated chiller and filtration system. Brands like Blue Cube, Plunge, or custom-built units from local pool companies run $2,500–$5,000+. These setups genuinely rival what you'd find at a mid-tier plunge pool spa or cold water therapy center. Temperature holds within 1–2 degrees, water stays clean with UV or ozone filtration, and the tub itself is built to last years.
Building Your Setup: The Core Components and Steps
No matter which option you choose, every DIY cold plunge needs the same four things: a vessel, a way to cool the water, a way to keep it clean, and a thermometer. That's it. People over-complicate this.
Vessel prep: If you're using a chest freezer, seal the drain plug with marine-grade sealant and let it cure for 48 hours before filling. Test for leaks with a small amount of water first, do not fill it completely and then discover a slow leak at the base. If you're using a stock tank, check for rust spots and sand them down before use.
Water treatment setup: For any setup where the water sits more than 2–3 days, you need sanitation. Options: chlorine (keep it at 1–3 ppm, same as a pool), bromine tablets (slower-dissolving, gentler on skin), or hydrogen peroxide at about 50–100 ppm. Test strips cost $10 and you should be checking levels every few days. Don't skip this. Cold water doesn't kill bacteria as fast as warm water does, but it does slow it down, that's not the same as making it safe.
Temperature testing: Get a digital thermometer with a probe. The $12 ones on Amazon work fine. Check the water temp before every session. And yes, even if you "think" the freezer has been running all night, verify it.
First-use safety check: Before you get in, make sure you can get out easily. Slippery tubs are a real hazard. Put a non-slip mat inside the tub and a step stool outside if needed. Tell someone you're doing your first session. That sounds overly cautious until the moment it isn't.
If temperatures in your area drop below freezing, either drain and store the tub or insulate the outside with foam board and keep a low-wattage heater near (not in) the unit to prevent cracking. A frozen stock tank can split at the seams. Ask anyone who's tried to use one in January in Minnesota.
The Numbers: What This Actually Costs Long-Term Versus Going Professional
Let's be honest with the math here, because this is where most DIY articles wave their hands and say "it pays for itself!" without showing you the actual numbers.
Budget build (stock tank + ice): $250 upfront. If you plunge 3x per week using 4 bags of ice at $3 each, that's $36/month just in ice. Over one year: $250 + $432 = roughly $682. Over two years: $1,114.
Mid-range build (chest freezer conversion): $700 upfront. $30/month electricity. Year one: $1,060. Year two: $1,420.
Now compare that to visiting a local cold therapy studio or recovery wellness center at $35 per session, 3 times a week. That's $420/month or about $5,040 per year. A membership at most of these places runs $100–$200/month. So even the mid-range DIY build pays for itself within 6–8 months against a regular membership.
But, and this matters, if you're only going to plunge once or twice a month, skip the DIY project entirely. Just find a good cold immersion center near you. Typically, the breakeven math falls apart quickly at low usage.
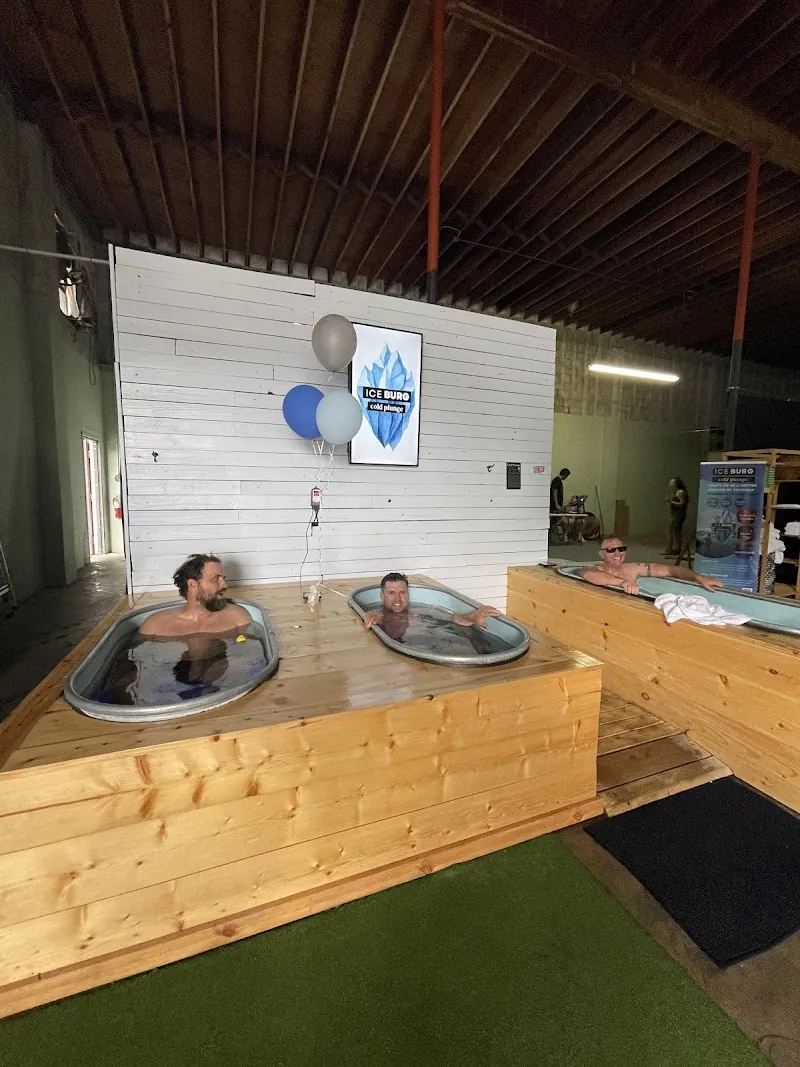
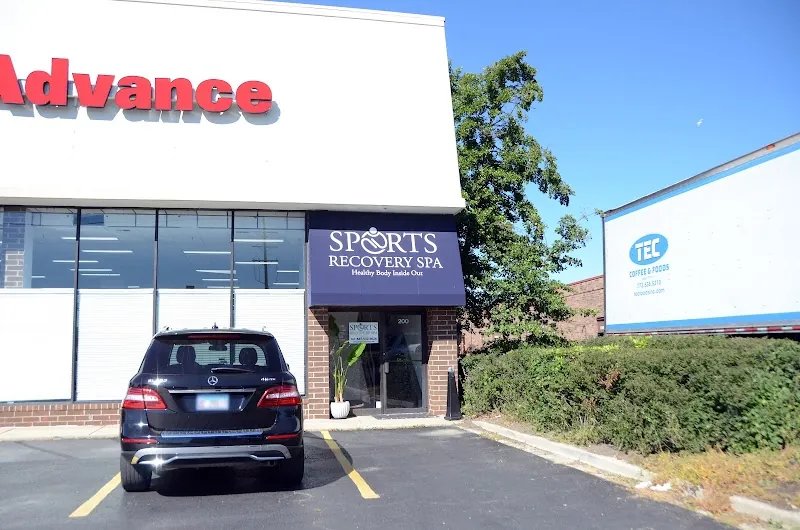
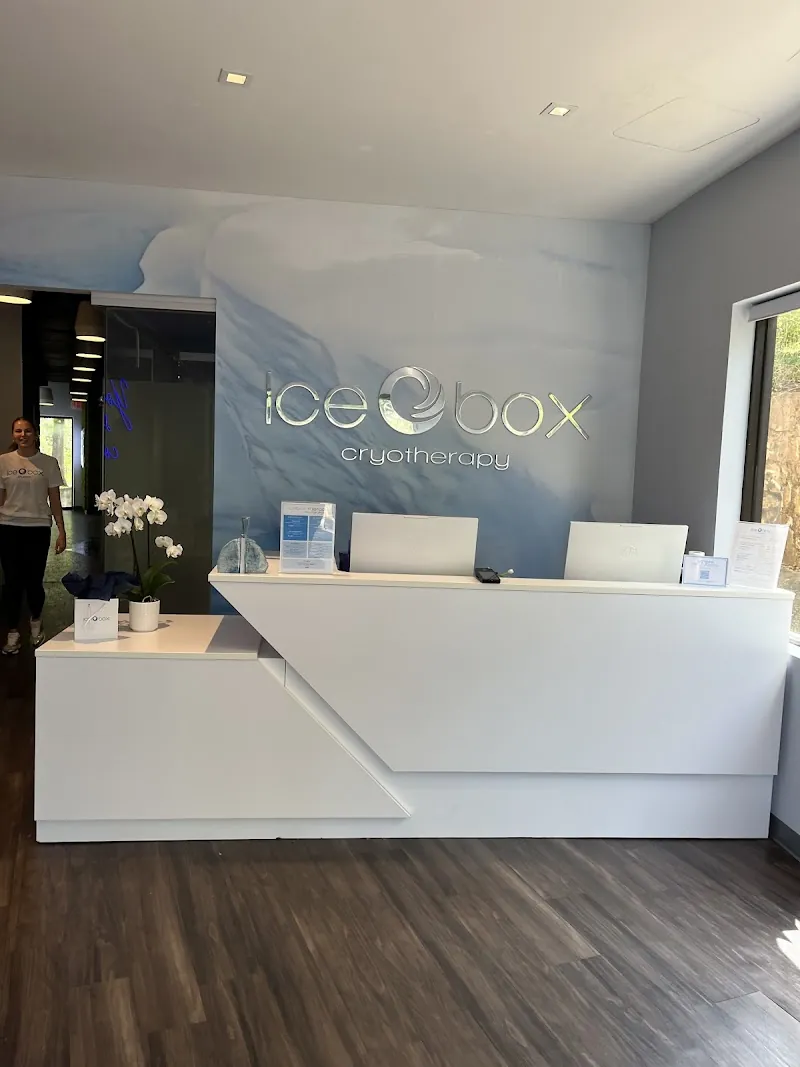
How the Professional Cold Plunge Industry Actually Looks Right Now
The Cold Plunge Pal directory has 1,934 businesses listed across the country (and a few internationally), with an average customer rating of 4.9 stars across all listings. That's not a number you fake. People genuinely like these places when they find a good one.
Top cities in the directory by number of listings: New York leads with 30 businesses, followed by Anchorage at 25, Omaha at 20, and both Las Vegas and Albuquerque at 19 each. Anchorage at number two actually makes sense, cold water culture runs deep up there, and a lot of those businesses double as contrast therapy studios offering both sauna and cold immersion.
Some of the top-rated facilities in the directory are genuinely impressive operations. Rock and Armor in Meridian, Idaho holds a 5.0-star rating across 1,448 reviews. Pain Center of Rhode Island in Cranston has 5.0 stars from 1,207 reviews. Next Health in New York sits at 5.0 stars with 1,142 reviews. These aren't boutique shops with 12 reviews, they're high-volume businesses delivering consistently excellent experiences.
| Business Name | Location | Rating | Reviews |
|---|---|---|---|
| Rock and Armor | Meridian, ID | 5.0 ⭐ | 1,448 |
| Pain Center of Rhode Island | Cranston, RI | 5.0 ⭐ | 1,207 |
| Fire & Ice Wellness | Bristol, England | 5.0 ⭐ | 1,199 |
| Next Health | New York, NY | 5.0 ⭐ | 1,142 |
| Remède IV Therapy + Aesthetics | Jackson, WY | 5.0 ⭐ | 948 |
Worth noting: Fire & Ice Wellness in Bristol, England made the top five globally with 1,199 reviews and a perfect score. That's a cold water swim spot combined with sauna, an outdoor natural setup that puts most indoor facilities to shame for atmosphere, apparently.
As a rule, the point isn't that professional facilities are better than DIY. It's that if you are new to cold therapy and haven't committed to a home setup yet, trying a few sessions at a well-reviewed cryotherapy studio or cold plunge facility first makes a lot of sense. You'll know if you actually like it before spending $700 on a chest freezer conversion.
Frequently Asked Questions
What temperature should my DIY cold plunge be?
Start between 55°F and 59°F if you're new to cold immersion. Once you're comfortable with 2–4 minute sessions at that range, you can work down toward 50°F over several weeks. Going below 45°F is for experienced plungers only, and sessions should stay under 3 minutes at that temperature. Always verify with a thermometer before getting in.
How do I keep the water clean between sessions?
Change the water every 3–5 sessions if you're not using any sanitation. If you want to keep water longer, add chlorine (keep it at 1–3 ppm), bromine tablets, or food-grade hydrogen peroxide. Test with strips every few days. Do not rely on cold temperatures alone to keep water safe, bacteria still grow, just more slowly.
Is a chest freezer conversion safe for cold plunging?
Yes, with basic precautions. Make sure the electrical components are not exposed to water. Keep the power cord away from the tub. Never modify the freezer's cooling system. And make sure the drain is properly sealed before filling. A lot of people have done this safely for years, it's one of the most popular DIY builds out there.
How does DIY compare to visiting a professional cold plunge facility?
A professional cold water therapy center offers consistent temperatures, clean filtered water, and staff who can guide you through proper protocols. For beginners, that structure is genuinely valuable. Once you know what you're doing and you're plunging multiple times a week, a DIY setup saves significant money over a membership. For most shoppers, the breakeven point is roughly 6–8 months for a mid-range build against a typical membership fee.
Can I do a DIY cold plunge in an apartment?
It's harder but possible. An inflatable cold plunge tub can fit in a bathroom or balcony. Most main issues are water drainage (you'll need to pump it out or carry it), space for the chiller unit if you use one, and weight (100 gallons of water weighs about 835 lbs, so verify your floor load rating). Many apartment dwellers find it easier to use a local cold immersion center or cryotherapy studio until they have more space.
What are the most common mistakes people make with DIY cold plunges?
Not testing water temperature before getting in. Skipping water sanitation and ending up with skin irritation. Building outside without weatherproofing and having the setup crack or rust within a year. And, probably the most common, spending $300 on a setup they use four times and then abandon. If you're not sure you'll stick with it, try a few sessions at a professional facility first before committing to a build.
Explore Related Directories
Find a Cold Plunge Facility Near You
Not ready to build yet, or just want to try before you commit? Browse our directory of 1,934+ cold plunge businesses, ice bath facilities, and recovery wellness centers. Average rating across all listings: 4.9 stars.
Search the Directory